Blog

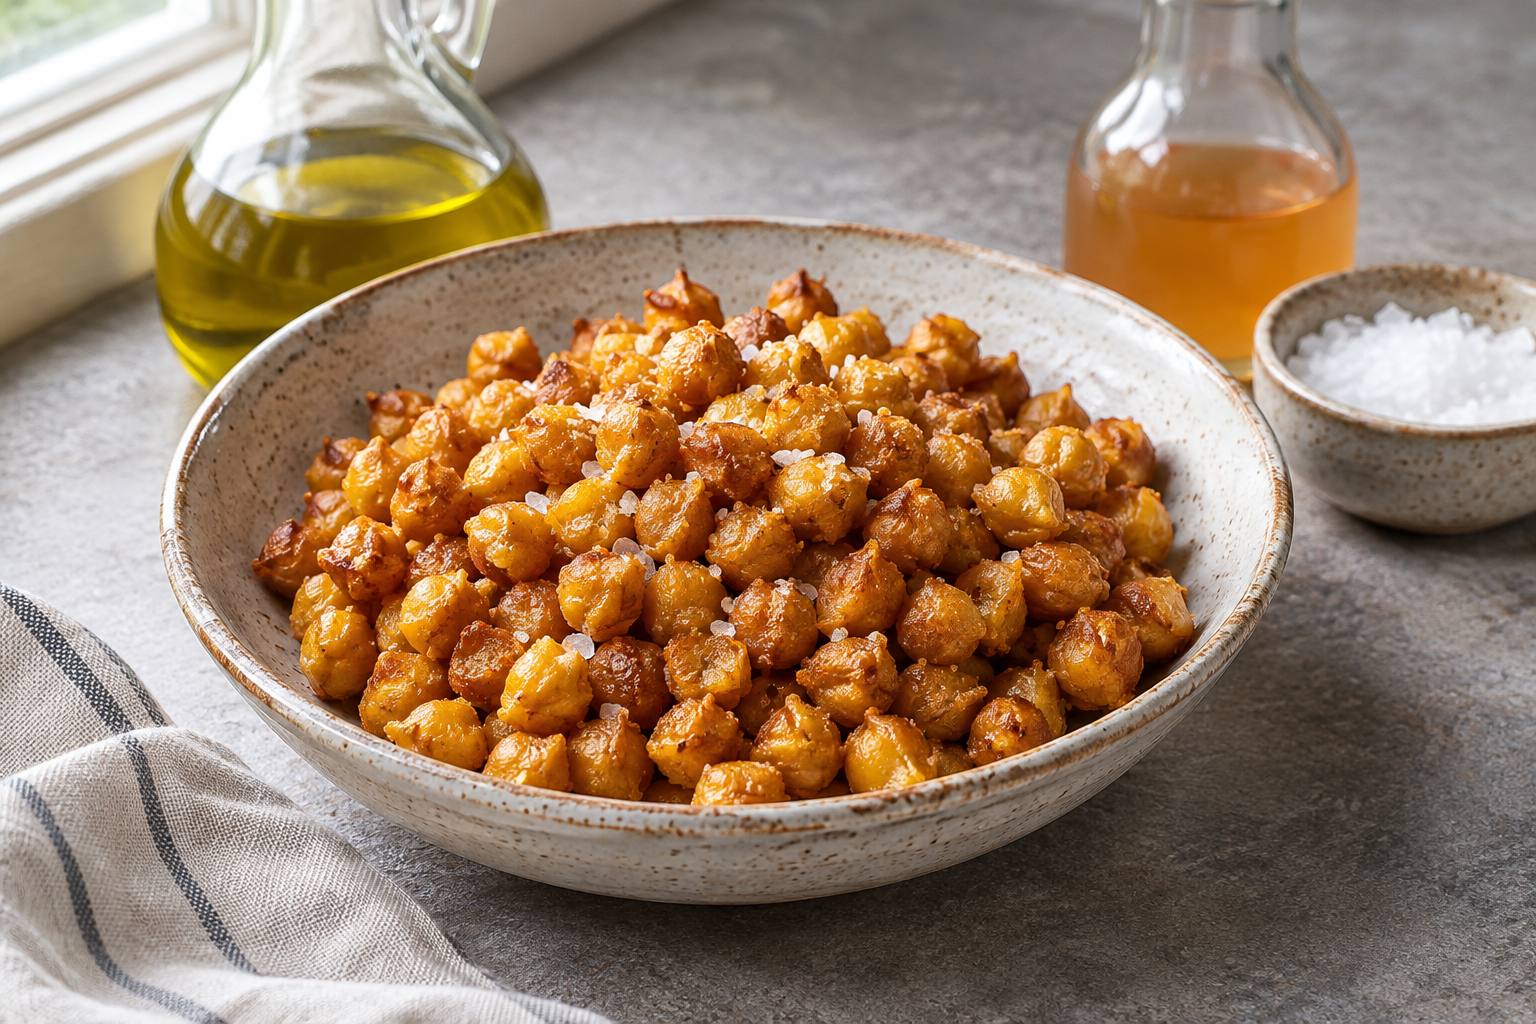
  • Salt and Vinegar Roasted Chickpeas

    Salt and Vinegar Roasted Chickpeas

    Untested recipe: quantities, servings and timings are suggested adaptations of the original meal idea and have not been kitchen-tested. Use the doneness checks below and adjust as needed.

    Servings: 3 snack servings | Suggested prep time: 10 minutes | Estimated cooking time: 35 minutes

    Ingredients

    • 1 can (15 ounces) chickpeas, drained and rinsed
    • 1 tablespoon olive oil
    • 1 tablespoon apple cider vinegar
    • 1/4 teaspoon fine salt, optional

    Instructions

    1. Heat oven to 400°F (200°C). Pat chickpeas very dry with a clean towel.
    2. Toss with oil and spread on a lined baking sheet.
    3. Roast 25 minutes, shaking the pan once. Toss carefully with vinegar and optional salt.
    4. Return to oven for 5–10 minutes until dry and crisp. Cool on the tray; serve the same day for best crunch.

    Low-energy prep tip

    Start with canned chickpeas and dry them well before roasting.

    Recipe notes

    This version specifies the oven; air fryers need their own tested time and temperature.

    Dietary labels apply only when all packaged ingredients meet those requirements. Check labels and cross-contact guidance for your needs. Salt is optional where listed; follow your own care plan rather than using a recipe to set sodium intake.

    Image is an AI-generated illustration of the dish, not a photograph of a tested recipe.
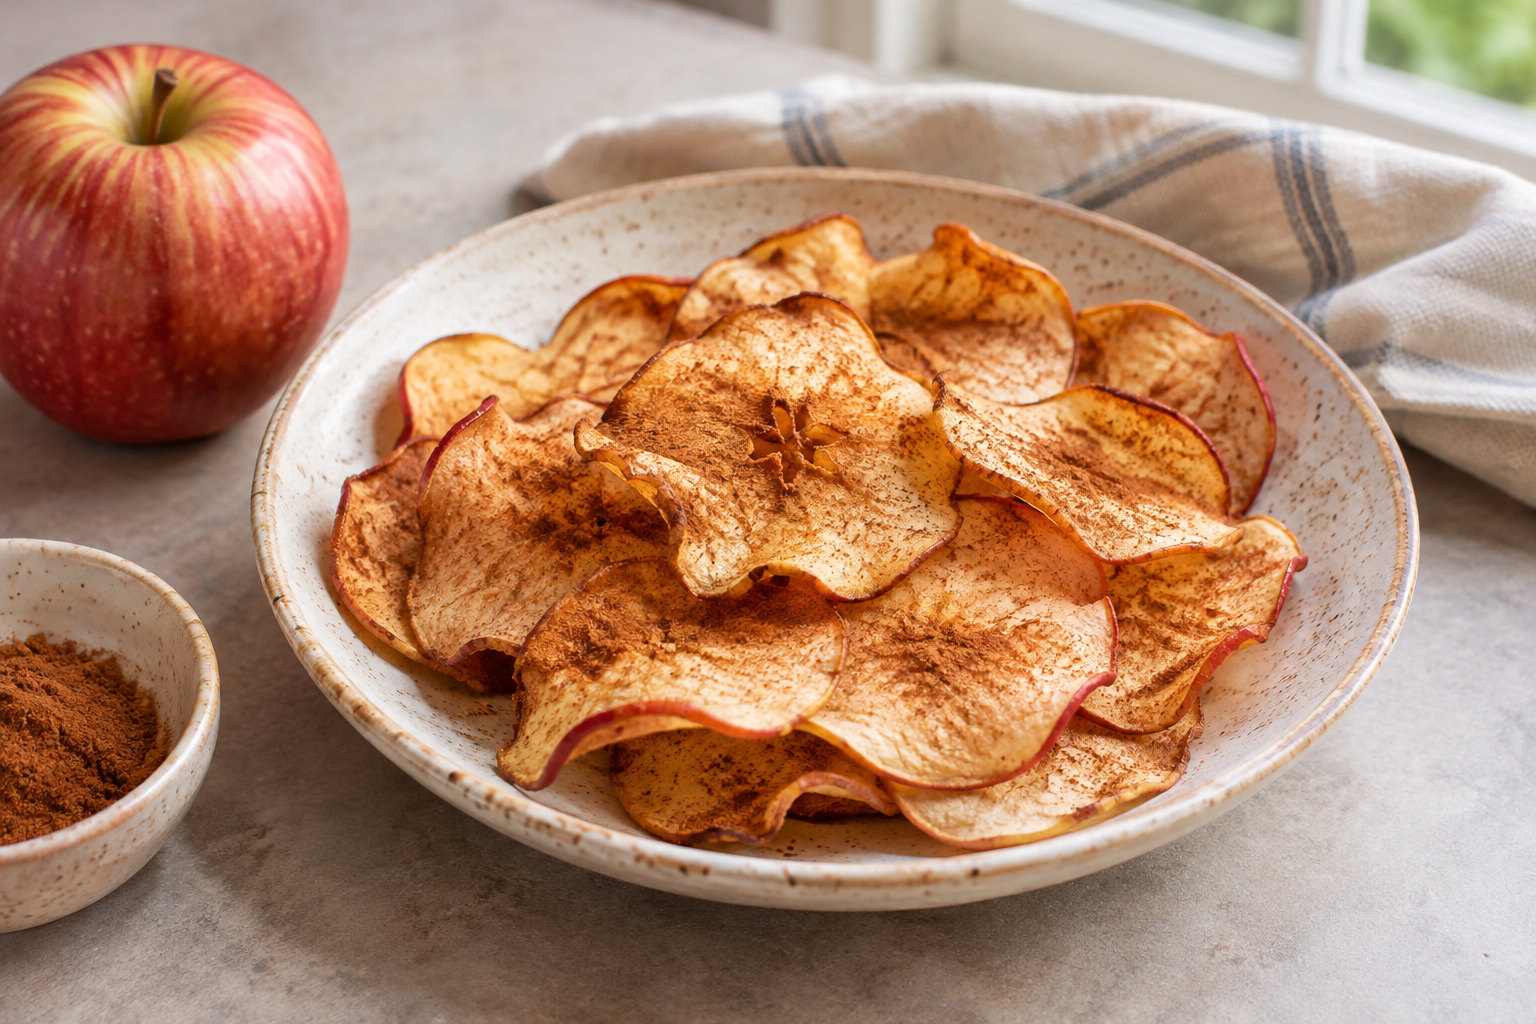
  • Microwave Cinnamon Apple Slices

    Microwave Cinnamon Apple Slices

    Untested recipe: quantities, servings and timings are suggested adaptations of the original meal idea and have not been kitchen-tested. Use the doneness checks below and adjust as needed.

    Servings: 1 | Suggested prep time: 5 minutes | Estimated cooking time: 8 minutes

    Ingredients

    • 1 medium apple
    • 1/4 teaspoon cinnamon

    Instructions

    1. Core the apple and carefully cut into very thin, even slices, about 1/16 inch.
    2. Arrange a small batch in one layer on microwave-safe parchment on a microwave-safe plate. Sprinkle lightly with cinnamon.
    3. Microwave 1 minute, then continue in 30-second bursts, watching closely, until slices begin to dry. Stop if browning excessively or scorching.
    4. Cool completely; slices may crisp as they cool. Repeat with the remaining slices.

    Low-energy prep tip

    Use an apple corer and prepare small batches; thin slicing still requires care.

    Recipe notes

    Results vary greatly by microwave and slice thickness; these may be chewy rather than crisp. Do not leave drying fruit unattended.

    Dietary labels apply only when all packaged ingredients meet those requirements. Check labels and cross-contact guidance for your needs. Salt is optional where listed; follow your own care plan rather than using a recipe to set sodium intake.

    Image is an AI-generated illustration of the dish, not a photograph of a tested recipe.
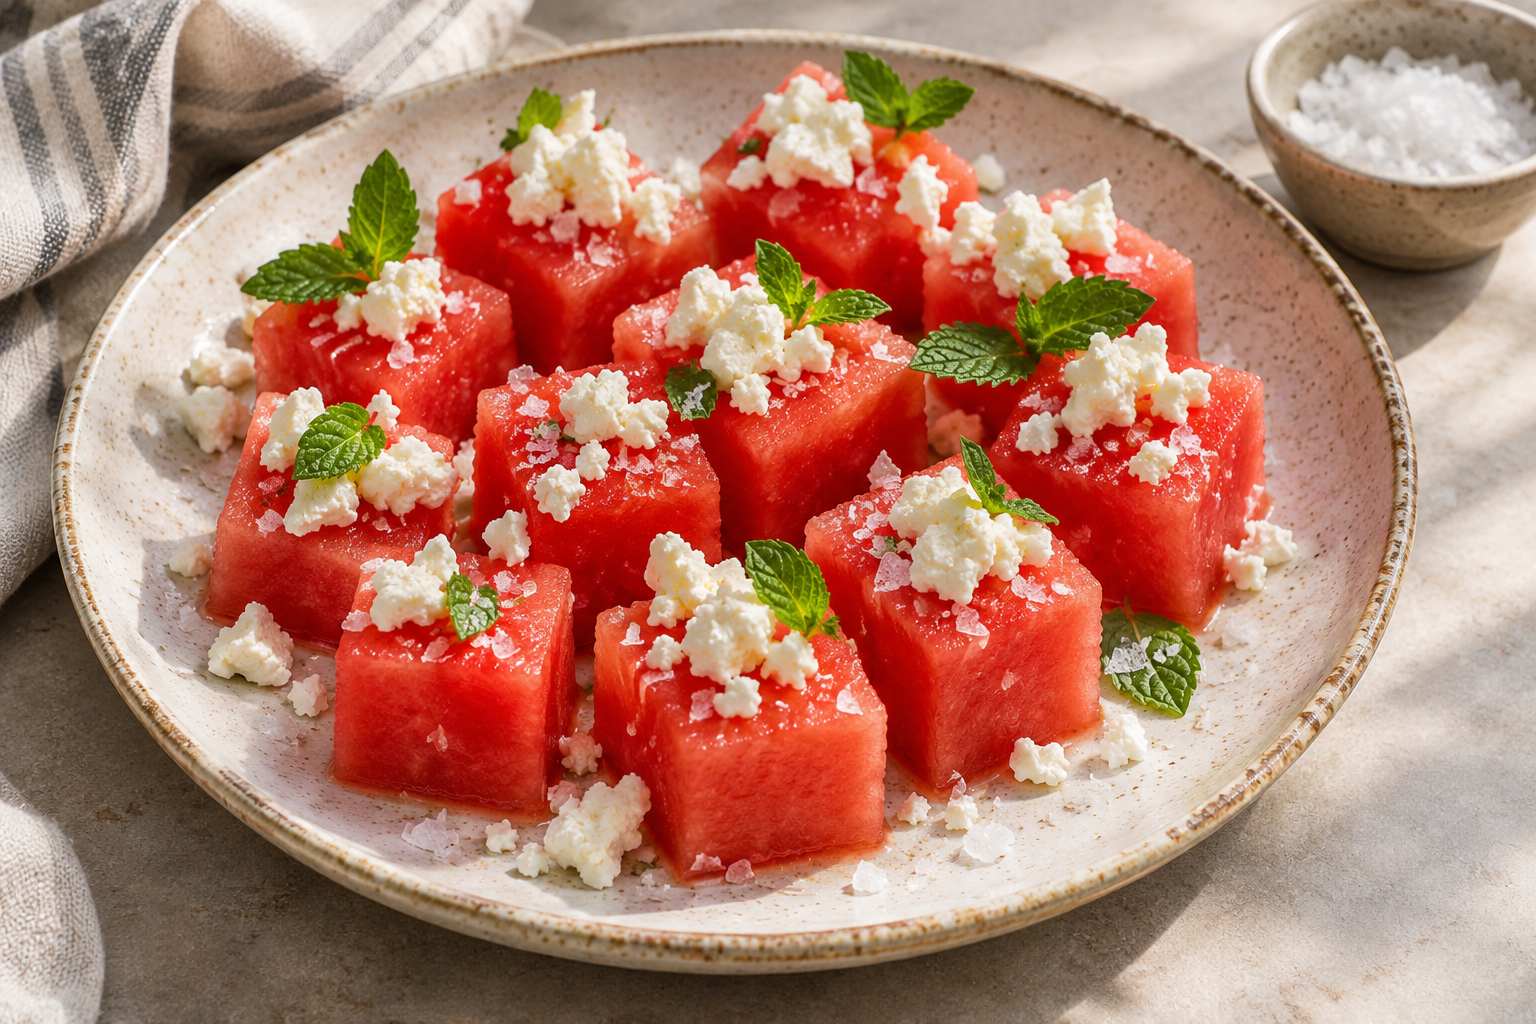
  • Watermelon Feta Bites

    Watermelon Feta Bites

    Untested recipe: quantities, servings and timings are suggested adaptations of the original meal idea and have not been kitchen-tested. Use the doneness checks below and adjust as needed.

    Servings: 2 snack servings | Suggested active prep time: 5 minutes

    Ingredients

    • 2 cups cubed watermelon
    • 1/4 cup crumbled feta
    • 1 tablespoon chopped mint, optional
    • Optional: tiny pinch of flaky salt

    Instructions

    1. Arrange watermelon cubes on a plate.
    2. Scatter feta and optional mint over the fruit.
    3. Taste before adding optional salt. Serve chilled.

    Low-energy prep tip

    Buy pre-cubed watermelon from the produce section.

    Recipe notes

    Buy precut watermelon to reduce chopping.

    Dietary labels apply only when all packaged ingredients meet those requirements. Check labels and cross-contact guidance for your needs. Salt is optional where listed; follow your own care plan rather than using a recipe to set sodium intake.

    Image is an AI-generated illustration of the dish, not a photograph of a tested recipe.
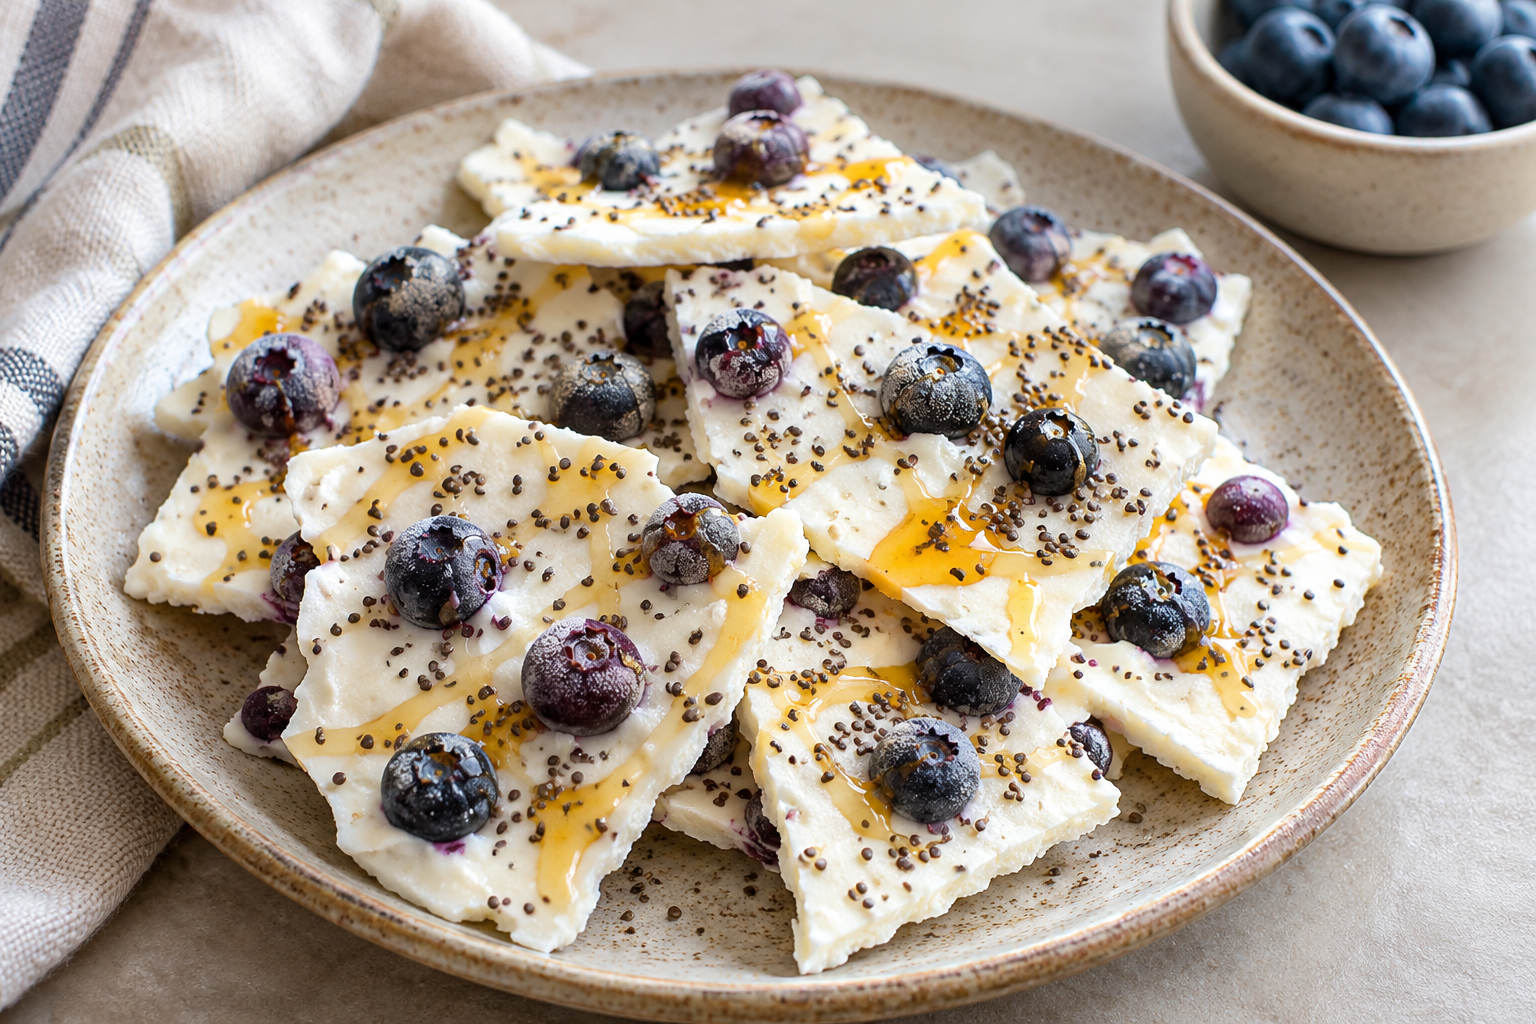
  • Blueberry Yogurt Bark

    Blueberry Yogurt Bark

    Untested recipe: quantities, servings and timings are suggested adaptations of the original meal idea and have not been kitchen-tested. Use the doneness checks below and adjust as needed.

    Servings: 6 snack servings | Suggested active prep time: 10 minutes

    Ingredients

    • 1 1/2 cups plain Greek yogurt
    • 3/4 cup blueberries
    • 1 tablespoon maple syrup
    • 1 tablespoon chia seeds

    Instructions

    1. Line a small rimmed tray with parchment. Stir yogurt with maple syrup.
    2. Spread yogurt about 1/4 inch thick on the tray; scatter blueberries and chia over it.
    3. Freeze flat at least 3 hours, until solid.
    4. Break into pieces and store in a sealed freezer container. Serve straight from the freezer and let soften briefly for easier biting.

    Low-energy prep tip

    Prep in advance; keep in freezer for instant access.

    Recipe notes

    Freezing time: at least 3 hours. Coconut yogurt makes a dairy-free variation.

    Dietary labels apply only when all packaged ingredients meet those requirements. Check labels and cross-contact guidance for your needs. Salt is optional where listed; follow your own care plan rather than using a recipe to set sodium intake.

    Image is an AI-generated illustration of the dish, not a photograph of a tested recipe.
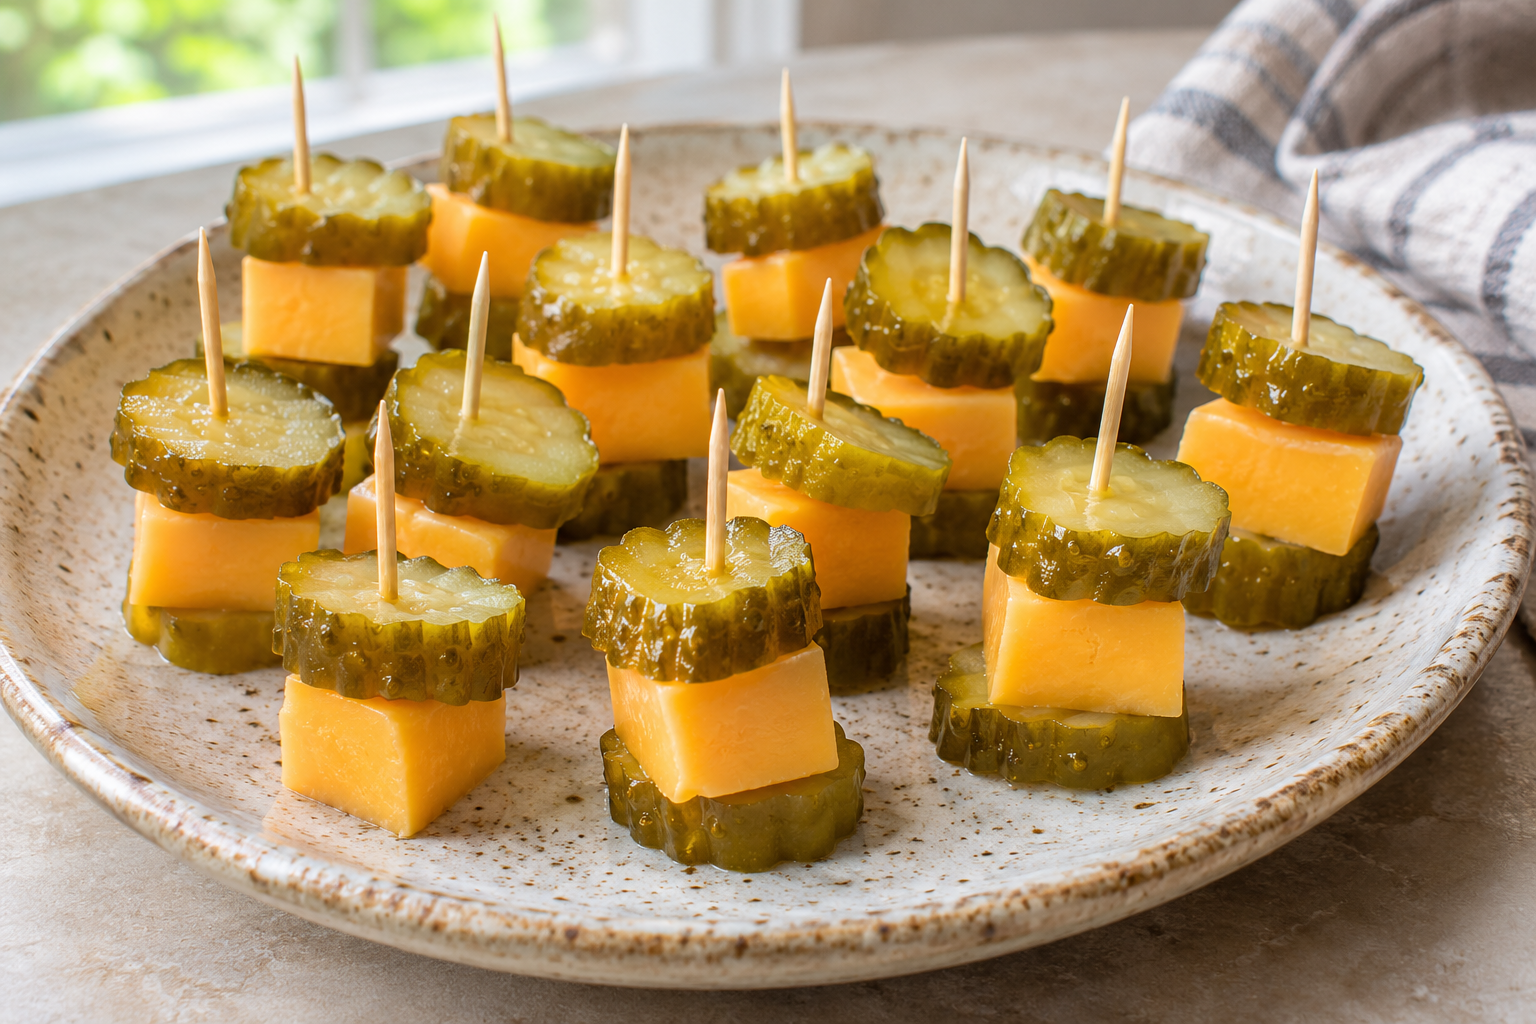
  • Dill Pickle and Cheddar Bites

    Dill Pickle and Cheddar Bites

    Untested recipe: quantities, servings and timings are suggested adaptations of the original meal idea and have not been kitchen-tested. Use the doneness checks below and adjust as needed.

    Servings: 2 snack servings | Suggested active prep time: 5 minutes

    Ingredients

    • 3 ounces cheddar, cut into 12 cubes
    • 12 pickle slices, patted dry

    Instructions

    1. Arrange cheddar cubes on a plate.
    2. Top each with a pickle slice.
    3. Serve as fork bites or secure with cocktail picks for adults.

    Low-energy prep tip

    Zero cooking; 1-minute assembly while seated.

    Recipe notes

    Skip toothpicks for young children and cut food into age-appropriate sizes. No extra salt is needed.

    Dietary labels apply only when all packaged ingredients meet those requirements. Check labels and cross-contact guidance for your needs. Salt is optional where listed; follow your own care plan rather than using a recipe to set sodium intake.

    Image is an AI-generated illustration of the dish, not a photograph of a tested recipe.
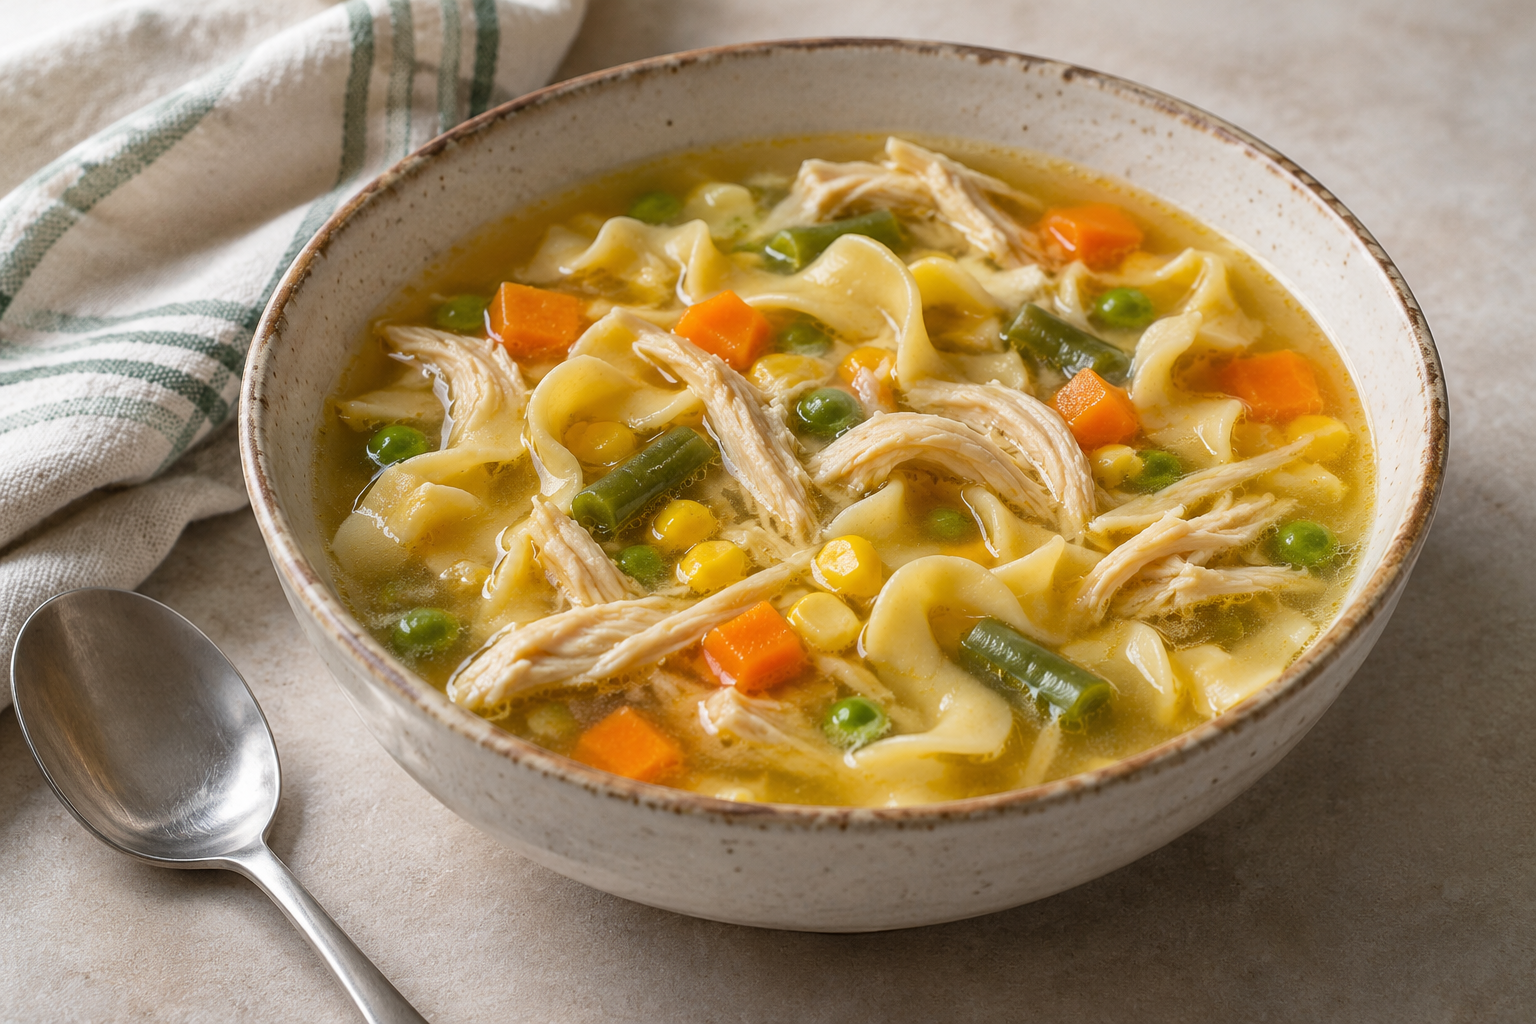
  • Easy Rotisserie Chicken Noodle Soup

    Easy Rotisserie Chicken Noodle Soup

    Untested recipe: quantities, servings and timings are suggested adaptations of the original meal idea and have not been kitchen-tested. Use the doneness checks below and adjust as needed.

    Servings: 4 | Suggested prep time: 5 minutes | Estimated cooking time: 20 minutes

    Ingredients

    • 6 cups gluten-free chicken broth
    • 2 cups frozen carrot, celery and onion mix
    • 4 ounces gluten-free noodles
    • 2 cups cooked shredded rotisserie chicken
    • Optional: salt to taste

    Instructions

    1. Bring broth and frozen vegetables to a boil in a large saucepan.
    2. Simmer 5 minutes, then add noodles. Cook according to the noodle package until tender.
    3. Stir in chicken and heat to 165°F. Add more broth or water if the noodles absorb too much.
    4. Taste before salting; ladle into bowls and cool slightly before serving.

    Low-energy prep tip

    Uses rotisserie chicken and frozen soup-veg mix (carrots, celery, onions).

    Recipe notes

    Choose chicken, broth and noodles labeled gluten-free and dairy-free.

    Dietary labels apply only when all packaged ingredients meet those requirements. Check labels and cross-contact guidance for your needs. Salt is optional where listed; follow your own care plan rather than using a recipe to set sodium intake.

    Image is an AI-generated illustration of the dish, not a photograph of a tested recipe.
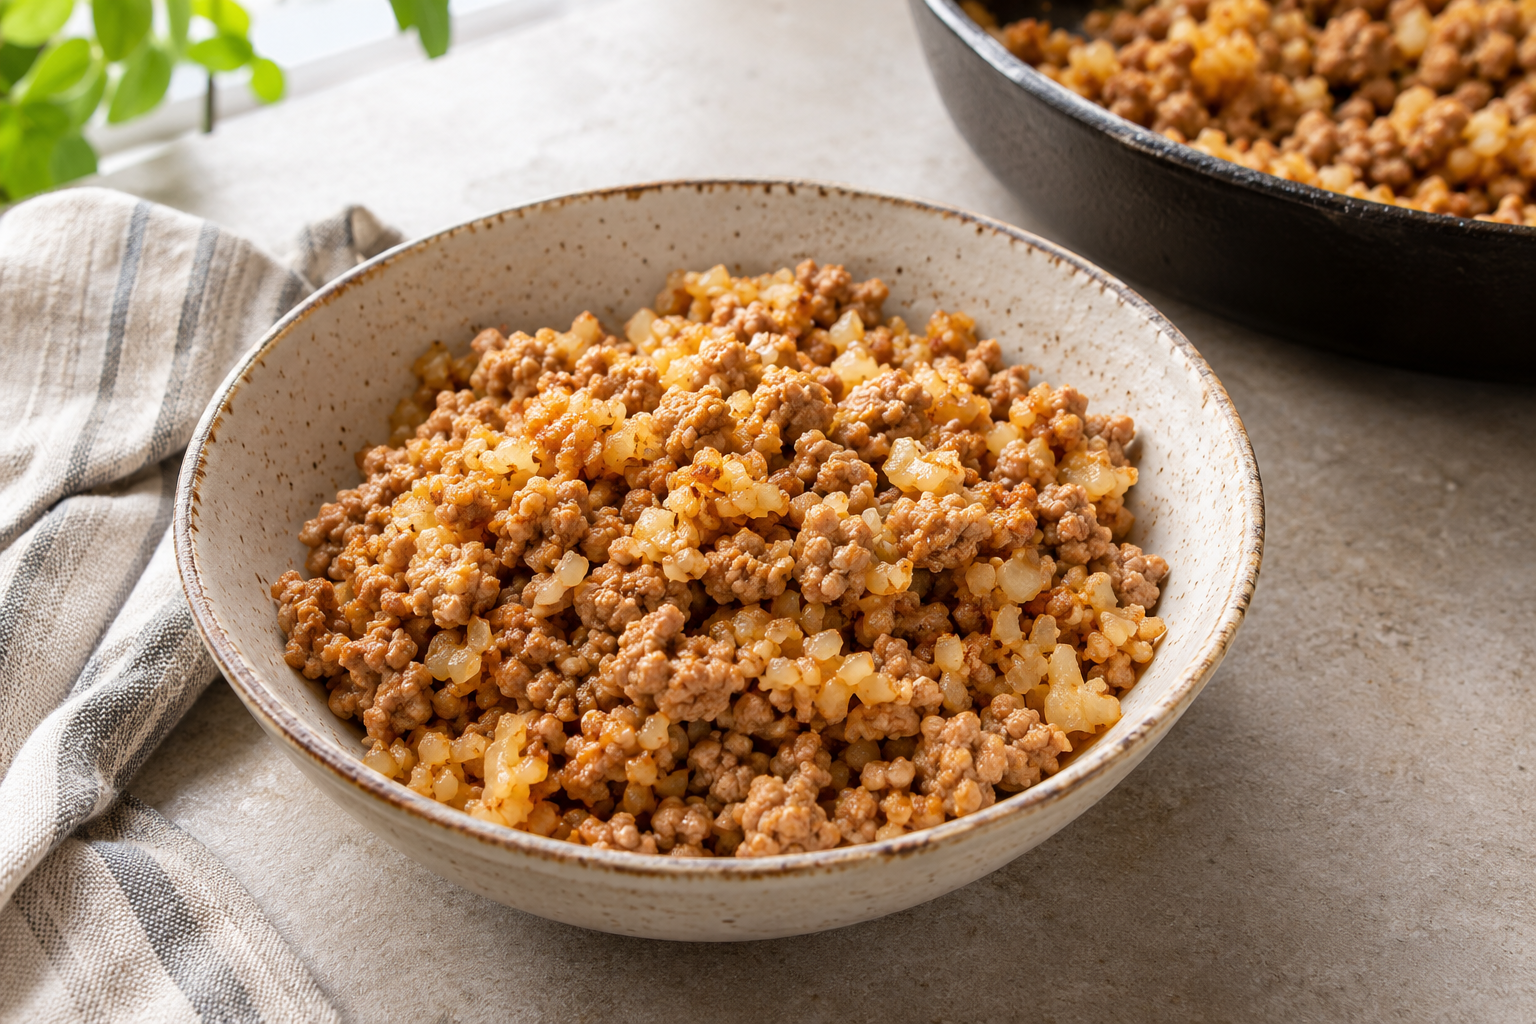
  • Ground Turkey and Cauliflower Rice Skillet

    Ground Turkey and Cauliflower Rice Skillet

    Untested recipe: quantities, servings and timings are suggested adaptations of the original meal idea and have not been kitchen-tested. Use the doneness checks below and adjust as needed.

    Servings: 3 | Suggested prep time: 5 minutes | Estimated cooking time: 18 minutes

    Ingredients

    • 1 pound ground turkey
    • 12 ounces frozen cauliflower rice
    • 1 tablespoon sesame oil
    • 2 tablespoons gluten-free tamari
    • 1/2 teaspoon garlic powder
    • 2 tablespoons water, if needed

    Instructions

    1. Heat oil in a large skillet over medium-high heat. Add turkey and break it up with a spoon.
    2. Cook 7–10 minutes, stirring, until turkey reaches 165°F.
    3. Add cauliflower rice, tamari and garlic powder. Cook 5–8 minutes, following package directions, until cauliflower is tender and hot. Add water if the pan becomes dry.
    4. Taste before adding any extra salt and serve.

    Low-energy prep tip

    Uses frozen riced cauliflower—no chopping required.

    Recipe notes

    For gluten-free preparation, use labeled tamari or coconut aminos instead of ordinary soy sauce.

    Dietary labels apply only when all packaged ingredients meet those requirements. Check labels and cross-contact guidance for your needs. Salt is optional where listed; follow your own care plan rather than using a recipe to set sodium intake.

    Image is an AI-generated illustration of the dish, not a photograph of a tested recipe.
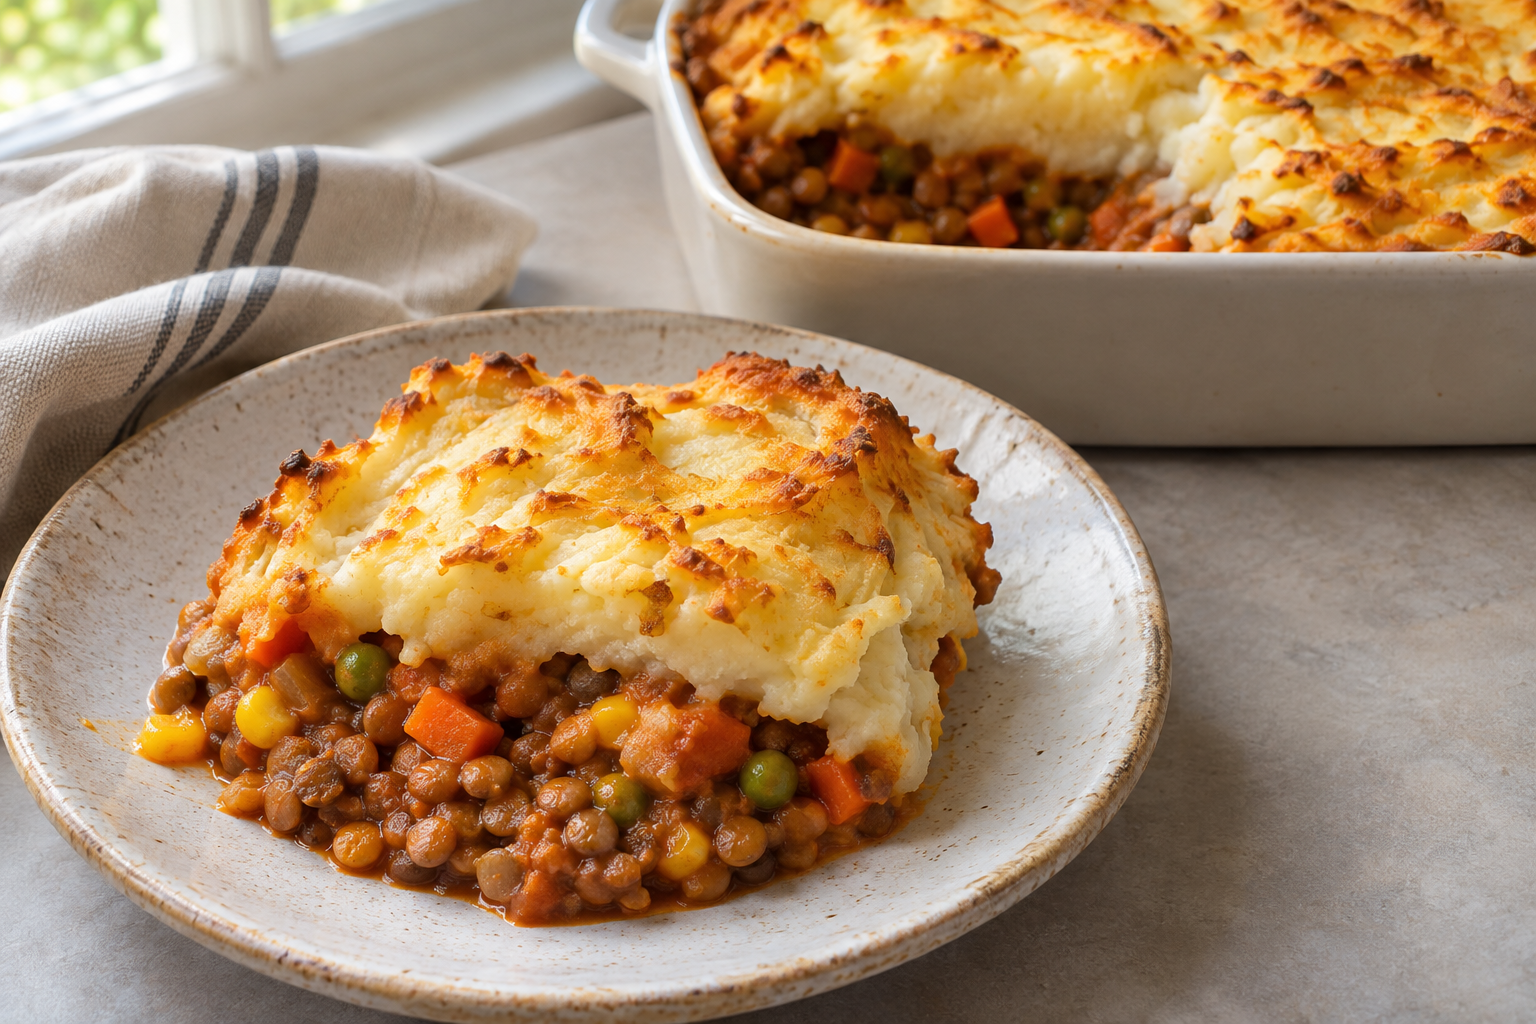
  • Lentil Vegetable Shepherd’s Pie

    Lentil Vegetable Shepherd’s Pie

    Untested recipe: quantities, servings and timings are suggested adaptations of the original meal idea and have not been kitchen-tested. Use the doneness checks below and adjust as needed.

    Servings: 4 | Suggested prep time: 10 minutes | Estimated cooking time: 240 minutes

    Ingredients

    • 2 cans (15 ounces each) cooked lentils, drained and rinsed
    • 3 cups frozen mixed vegetables
    • 3/4 cup vegetable broth
    • 2 tablespoons tomato paste
    • 1/2 teaspoon dried thyme
    • 3 cups prepared vegan gluten-free mashed potatoes

    Instructions

    1. Combine lentils, vegetables, broth, tomato paste and thyme in a slow cooker.
    2. Cover and cook on LOW for 3–4 hours until vegetables are tender and filling is hot.
    3. Heat oven to 400°F (200°C). Transfer filling to an oven-safe baking dish and spread mashed potatoes evenly over it.
    4. Bake 15–20 minutes until the center reaches 165°F and the topping starts to color.

    Low-energy prep tip

    Choose prepared vegan mashed potatoes and canned lentils.

    Recipe notes

    Allow an additional 20 minutes for oven finishing. Most prepared mashed potatoes contain milk or butter; choose a vegan version for these tags.

    Dietary labels apply only when all packaged ingredients meet those requirements. Check labels and cross-contact guidance for your needs. Salt is optional where listed; follow your own care plan rather than using a recipe to set sodium intake.

    Image is an AI-generated illustration of the dish, not a photograph of a tested recipe.
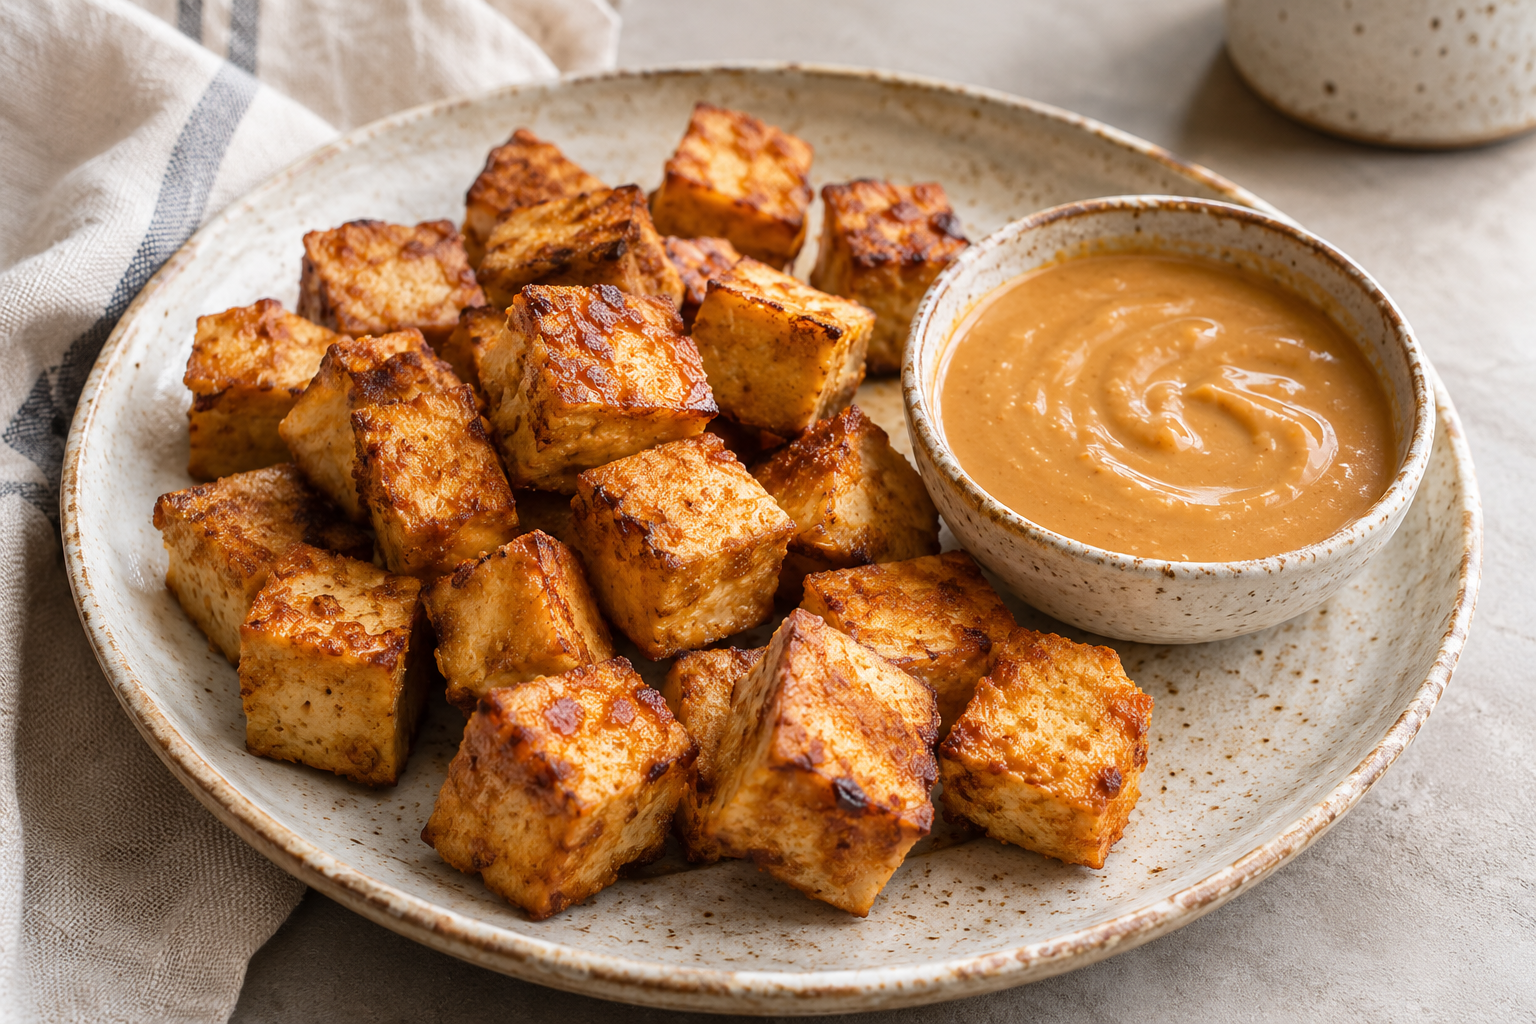
  • Crispy Baked Tofu with Peanut Dipping Sauce

    Crispy Baked Tofu with Peanut Dipping Sauce

    Untested recipe: quantities, servings and timings are suggested adaptations of the original meal idea and have not been kitchen-tested. Use the doneness checks below and adjust as needed.

    Servings: 3 | Suggested prep time: 15 minutes | Estimated cooking time: 30 minutes

    Ingredients

    • 1 block (14 ounces) extra-firm tofu, drained and patted dry
    • 2 tablespoons gluten-free tamari, divided
    • 1 tablespoon cornstarch
    • 1 tablespoon neutral oil
    • 3 tablespoons peanut butter
    • 2–4 tablespoons warm water

    Instructions

    1. Heat oven to 400°F (200°C). Cut tofu into 3/4-inch cubes and pat dry.
    2. Toss tofu with 1 tablespoon tamari and oil, then coat lightly with cornstarch. Spread on a parchment-lined baking sheet.
    3. Bake 25–30 minutes, turning halfway, until edges are crisp.
    4. Whisk peanut butter, remaining tamari and 2 tablespoons warm water. Add more water until pourable; serve alongside tofu.

    Low-energy prep tip

    Bake tofu on parchment paper; whisk sauce in a small bowl.

    Recipe notes

    Drying the tofu well helps the coating crisp.

    Dietary labels apply only when all packaged ingredients meet those requirements. Check labels and cross-contact guidance for your needs. Salt is optional where listed; follow your own care plan rather than using a recipe to set sodium intake.

    Image is an AI-generated illustration of the dish, not a photograph of a tested recipe.
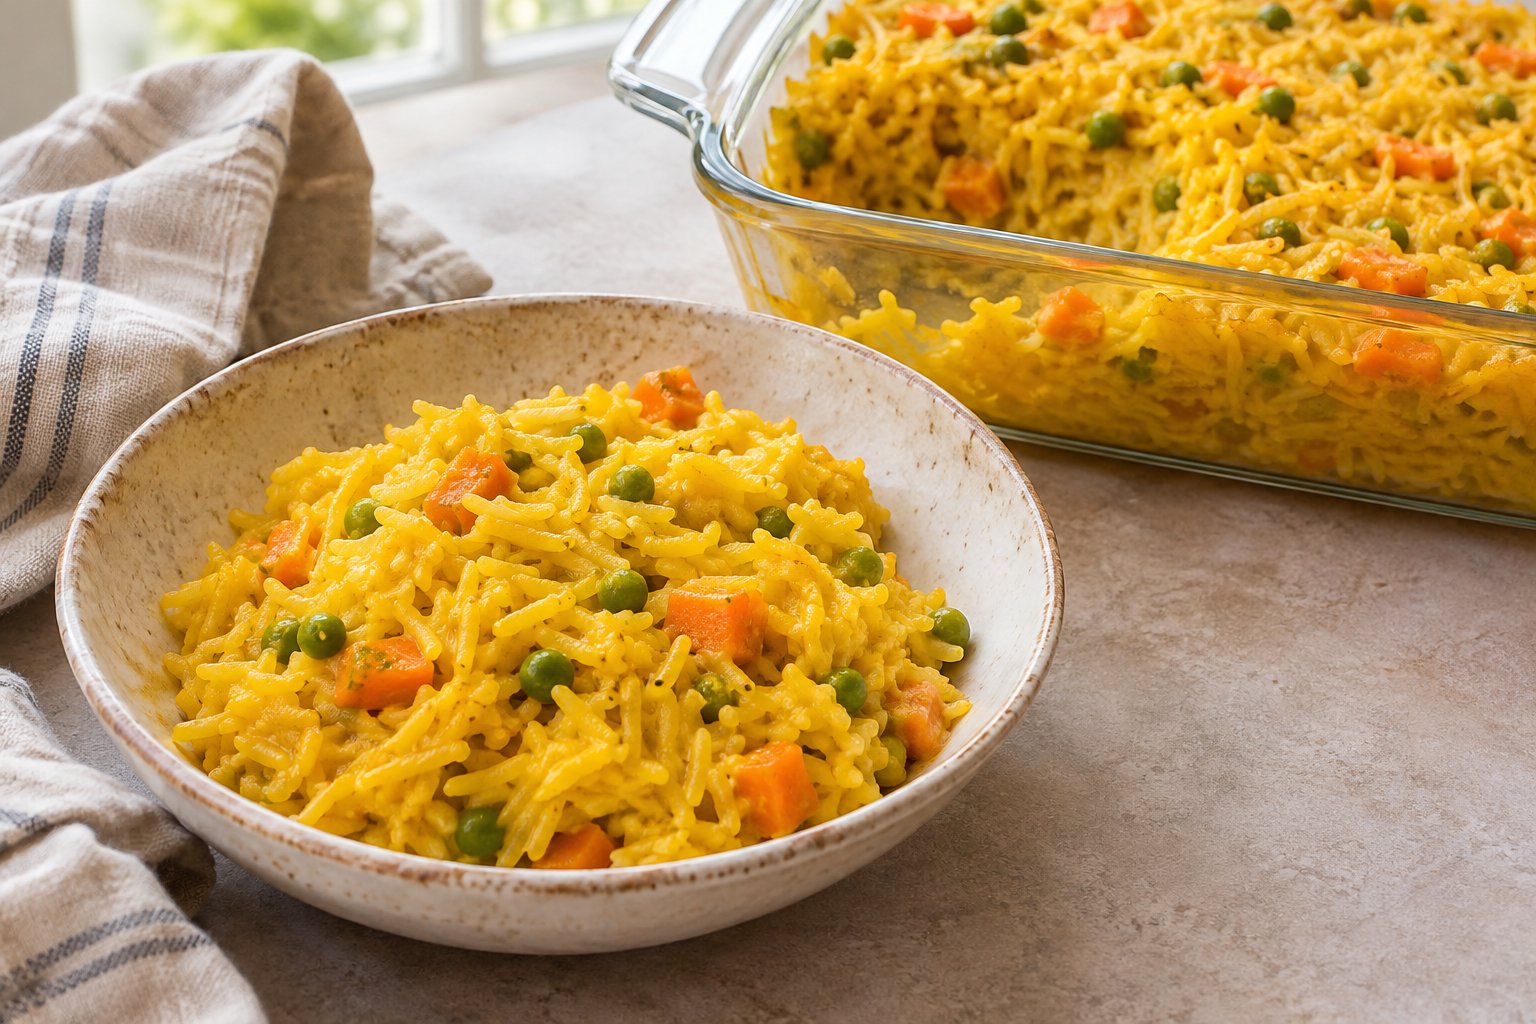
  • Golden Coconut Rice and Vegetable Casserole

    Golden Coconut Rice and Vegetable Casserole

    Untested recipe: quantities, servings and timings are suggested adaptations of the original meal idea and have not been kitchen-tested. Use the doneness checks below and adjust as needed.

    Servings: 4 | Suggested prep time: 10 minutes | Estimated cooking time: 50 minutes

    Ingredients

    • 1 cup uncooked white basmati rice, rinsed and drained
    • 1 1/2 cups hot vegetable broth
    • 1/2 cup canned coconut milk
    • 1 1/2 cups frozen peas and carrots
    • 1 teaspoon turmeric
    • 1/4 teaspoon salt, optional
    • 1 teaspoon olive oil for greasing

    Instructions

    1. Heat oven to 375°F (190°C). Lightly grease an 8-inch square oven-safe baking dish.
    2. Mix rice, hot broth, coconut milk, vegetables, turmeric and optional salt in the dish.
    3. Cover tightly with an oven-safe lid or foil. Bake 40–50 minutes until liquid is absorbed and rice is tender. If still firm, add 1/4 cup hot water, re-cover and bake 5–10 minutes longer.
    4. Rest covered for 10 minutes, then fluff with a fork.

    Low-energy prep tip

    Dump raw ingredients in a dish and bake; no stove monitoring.

    Recipe notes

    Resting time: 10 minutes in addition to cooking. Brown rice needs a different liquid ratio and cooking time.

    Dietary labels apply only when all packaged ingredients meet those requirements. Check labels and cross-contact guidance for your needs. Salt is optional where listed; follow your own care plan rather than using a recipe to set sodium intake.

    Image is an AI-generated illustration of the dish, not a photograph of a tested recipe.